Easy, Solid Mounting of RC Servo Motors to Technics
Posted: 04 Dec 2010, 13:09
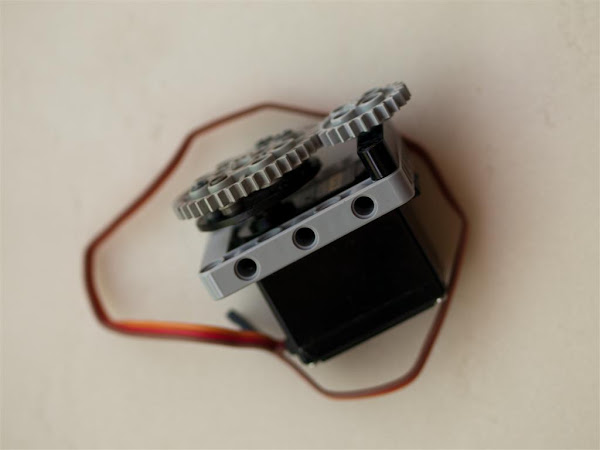
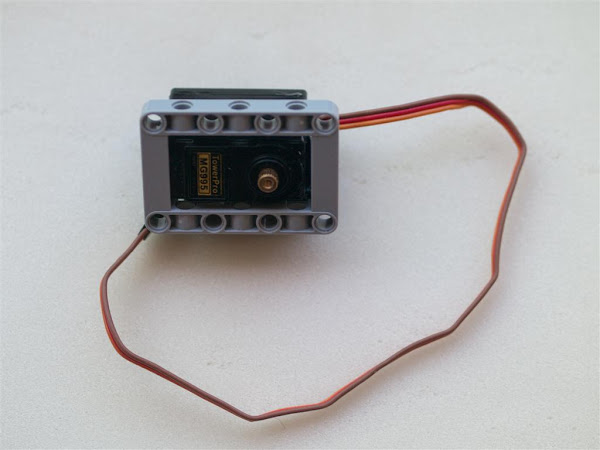
I have tried a number of methods of mounting Radio Control type Servo Motors to Lego Technics models over the years. Non were overly successful due to alignment issues mostly. Then in the wee hours this morning, whilst trying to sleep, the answer hits me  . Out of bed I jumped (actually I tip-toed) because finally there was a solution, thanks to Lego's new Part #64179: Gray Technic, Lift-arm with 5 x 7 Open Centre. 55gram RC Servo Motors fit tightly inside these new frames, accepting the Servo output shaft doesn't align with the mounting holes in the 5 x 7 Lift-arm Frame. But this is a relatively easy fix that takes about 10 minutes, plus a day for the glue to reach full strength.

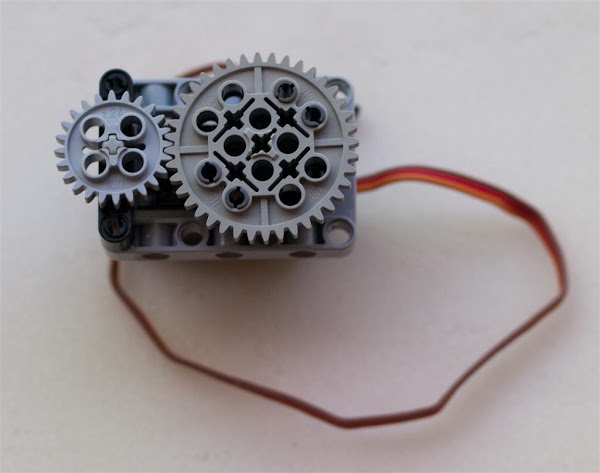
The most difficult part I have found with the whole exercise was finding a suitable way of adapting the Nylon Servo Horns to Technics components like Pulleys, Gears and Beams. Shown above is a large Technic Gear mounted onto a large round Servo Horn by drilling 3/16" holes in the Horn and using Lego Technic Pins to to join the two parts together. If I'm not attaching to the Servo via a Lego Technics shaft, I used a long screw into the Servos drive-shaft to hold the Gear and horn Together. But as my Servo Drive-shafts are brass, I find that in 90% of applications the screw isn't necessary.

I've found that the MG995 Hi-Speed, Torque, Metal Geared RC Servo available for around $10 each, to be very suited to this application. These Servos also work well with the Mindsensor 8 Channel Servo Controller for NXT (NXTServo-v2). These servos have very powerful Coreless Motors producing 13kg at 1cm on 4.8v batteries or 15kg on a 6v battery. In fact, there's enough torque available to brake Lego parts.

To start the process of mounting the Radio Control Servo into the Technics Frame with correct alignment of it's drive shaft, you need to get out your Minicraft, Dremel, or Proxxon (Die Grinder) out to grind away some of the Technic frame at one end as shown below.
For the full details on the 'Easy, Solid Mounting of RC Servo Motors to Technics', please visit my blog: www.rjmcnamara.com

The most difficult part I have found with the whole exercise was finding a suitable way of adapting the Nylon Servo Horns to Technics components like Pulleys, Gears and Beams. Shown above is a large Technic Gear mounted onto a large round Servo Horn by drilling 3/16" holes in the Horn and using Lego Technic Pins to to join the two parts together. If I'm not attaching to the Servo via a Lego Technics shaft, I used a long screw into the Servos drive-shaft to hold the Gear and horn Together. But as my Servo Drive-shafts are brass, I find that in 90% of applications the screw isn't necessary.

I've found that the MG995 Hi-Speed, Torque, Metal Geared RC Servo available for around $10 each, to be very suited to this application. These Servos also work well with the Mindsensor 8 Channel Servo Controller for NXT (NXTServo-v2). These servos have very powerful Coreless Motors producing 13kg at 1cm on 4.8v batteries or 15kg on a 6v battery. In fact, there's enough torque available to brake Lego parts.

To start the process of mounting the Radio Control Servo into the Technics Frame with correct alignment of it's drive shaft, you need to get out your Minicraft, Dremel, or Proxxon (Die Grinder) out to grind away some of the Technic frame at one end as shown below.
For the full details on the 'Easy, Solid Mounting of RC Servo Motors to Technics', please visit my blog: www.rjmcnamara.com